Top Verkoper
-
Aanbieding!
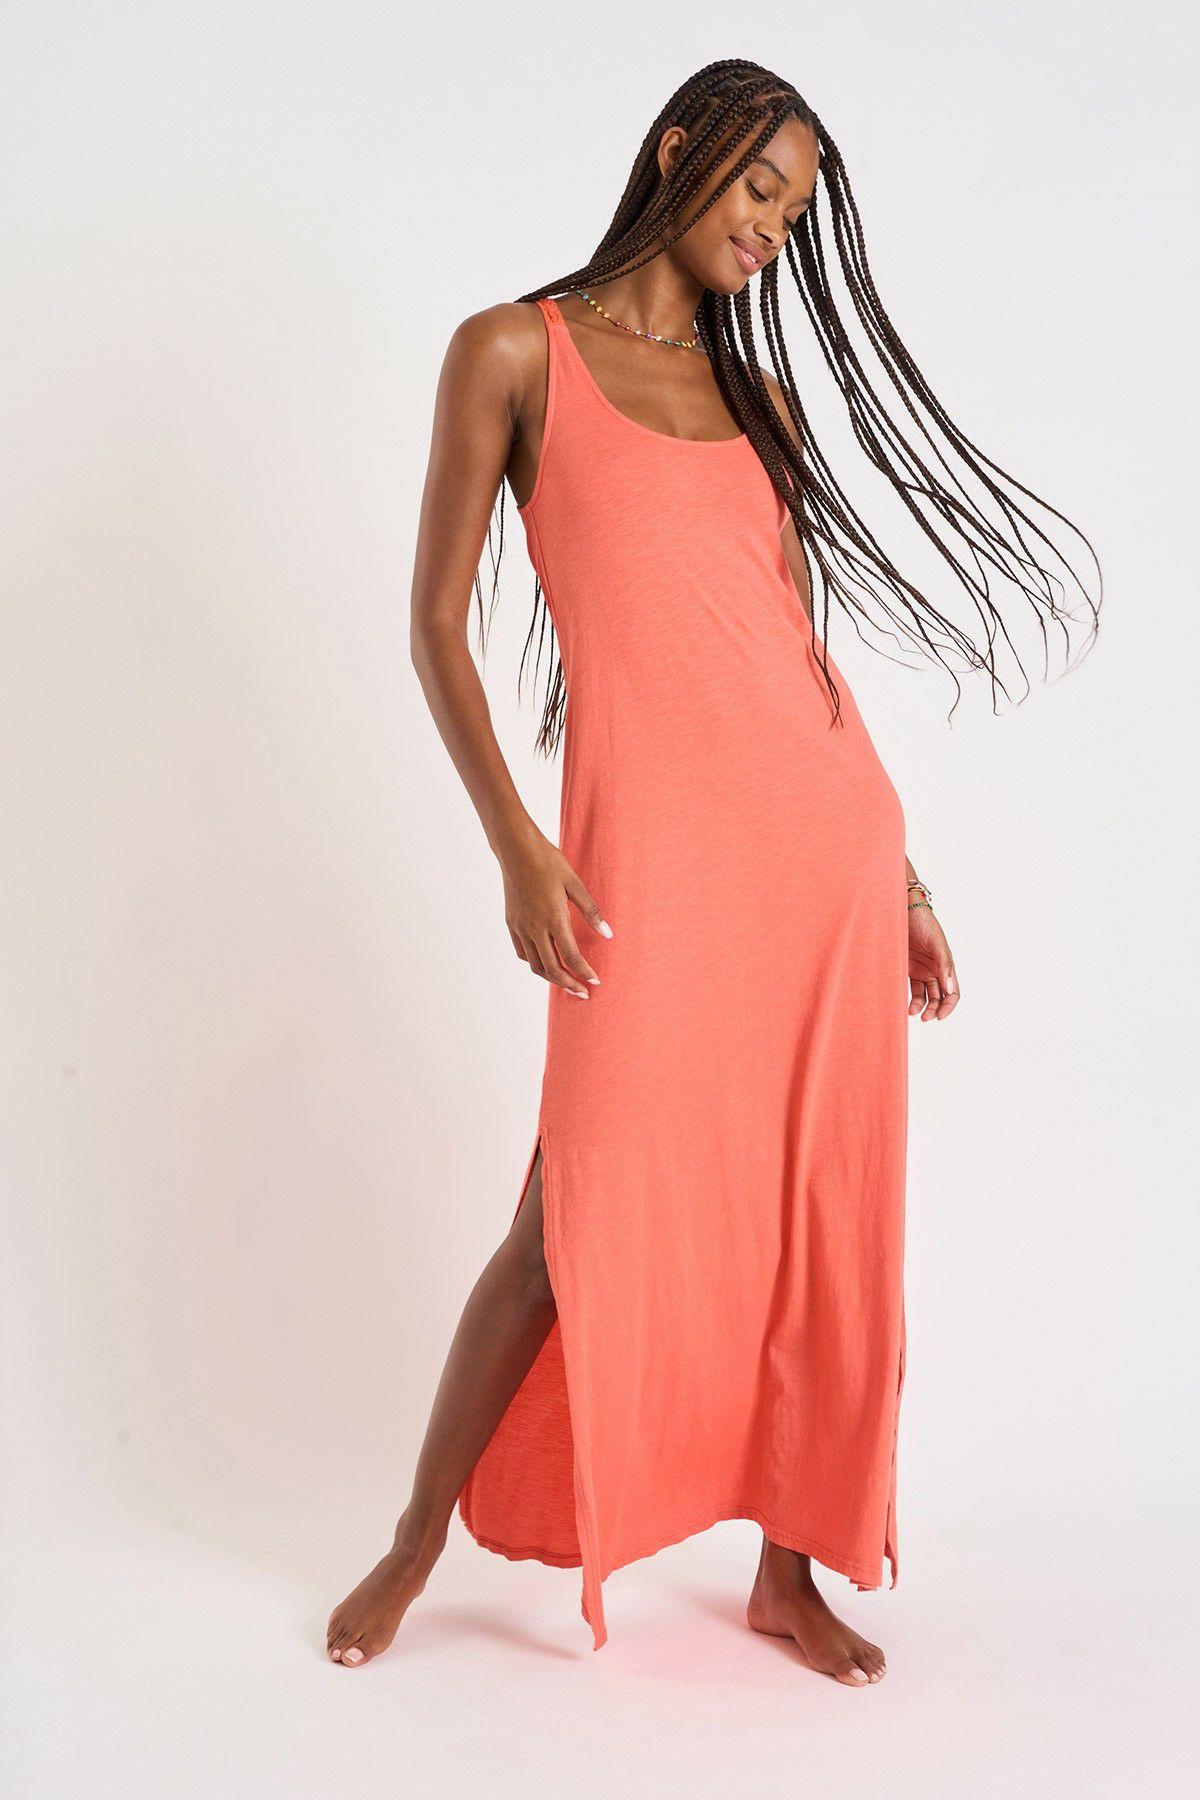
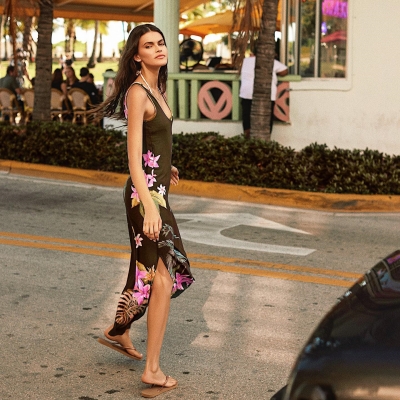
Dames Zomerkleedjes | Banana Moon STRANDKLEDING JURK Oranje – PAULA ENOHA Oranje
€ 118.67€ 53.01 Opties selecteren -
Aanbieding!
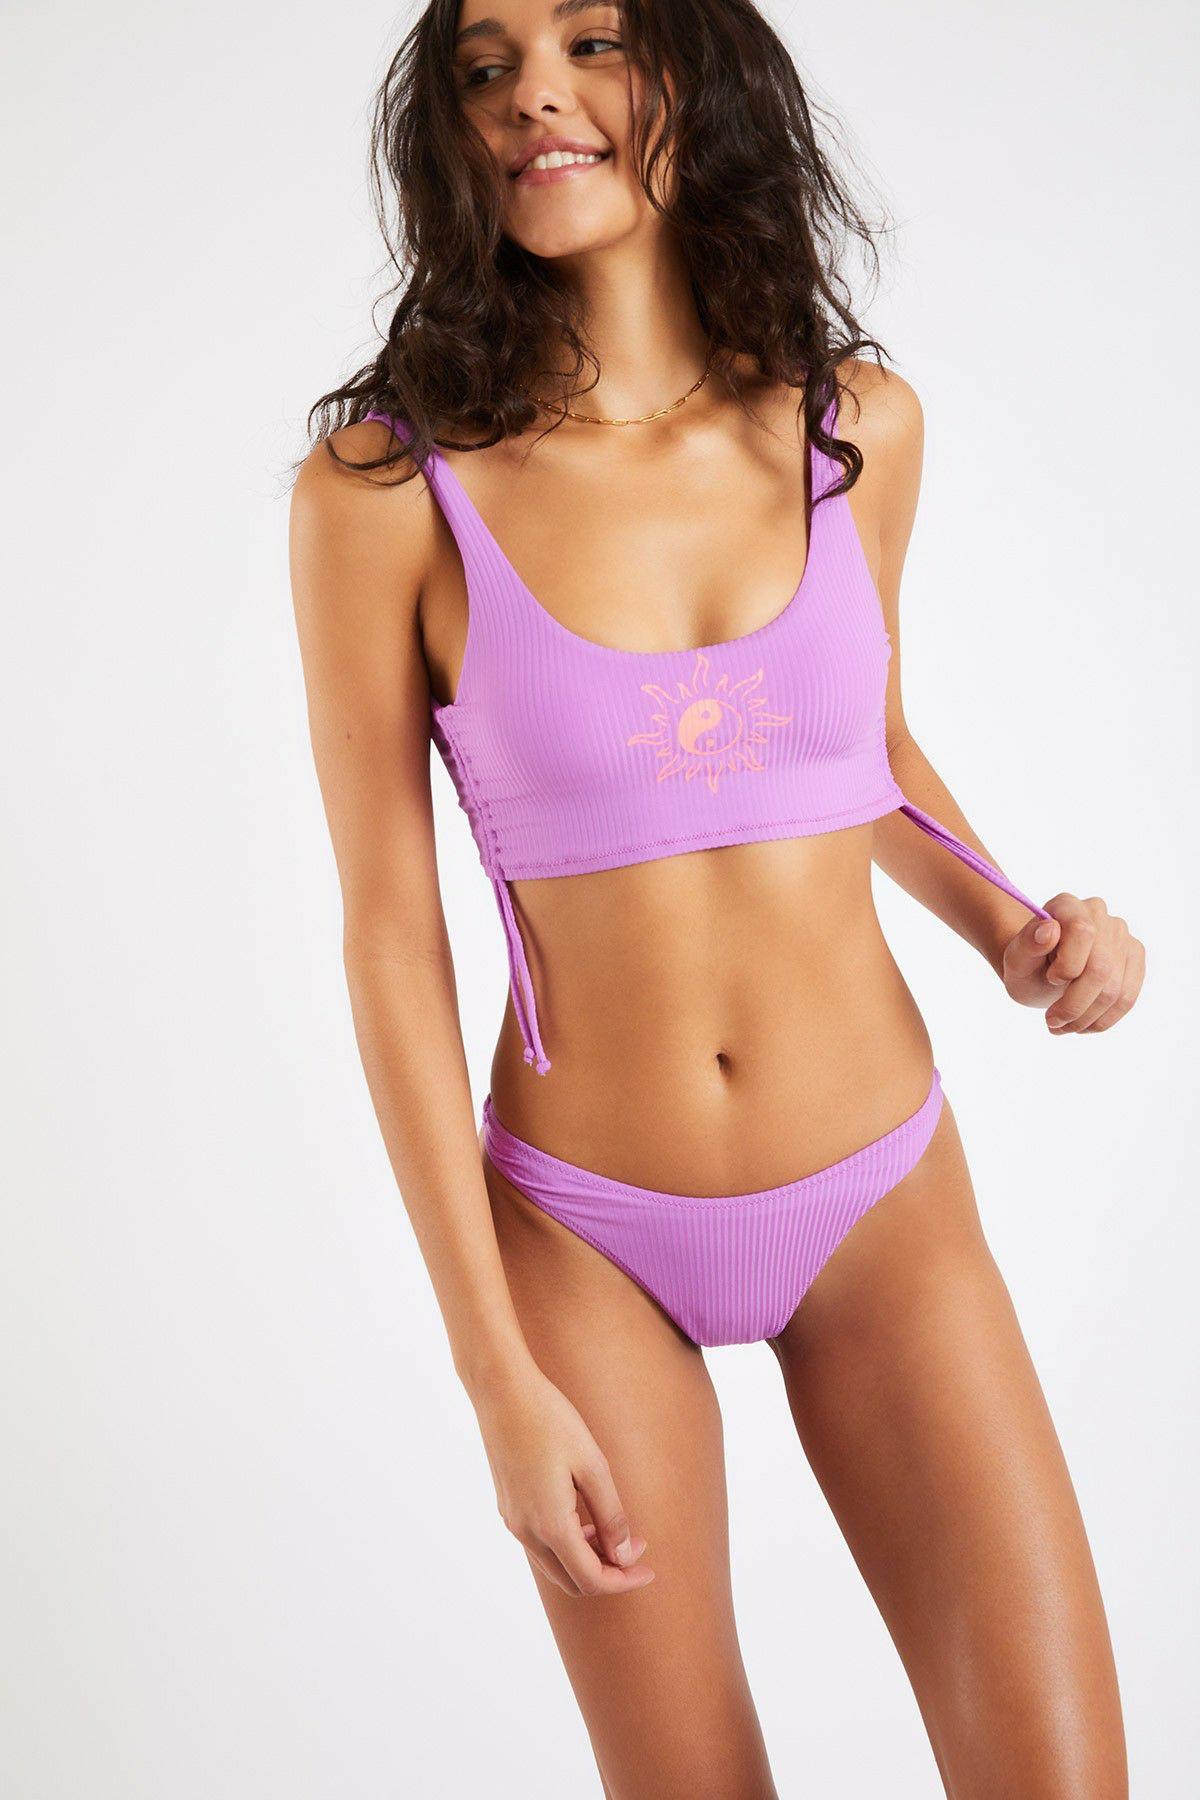
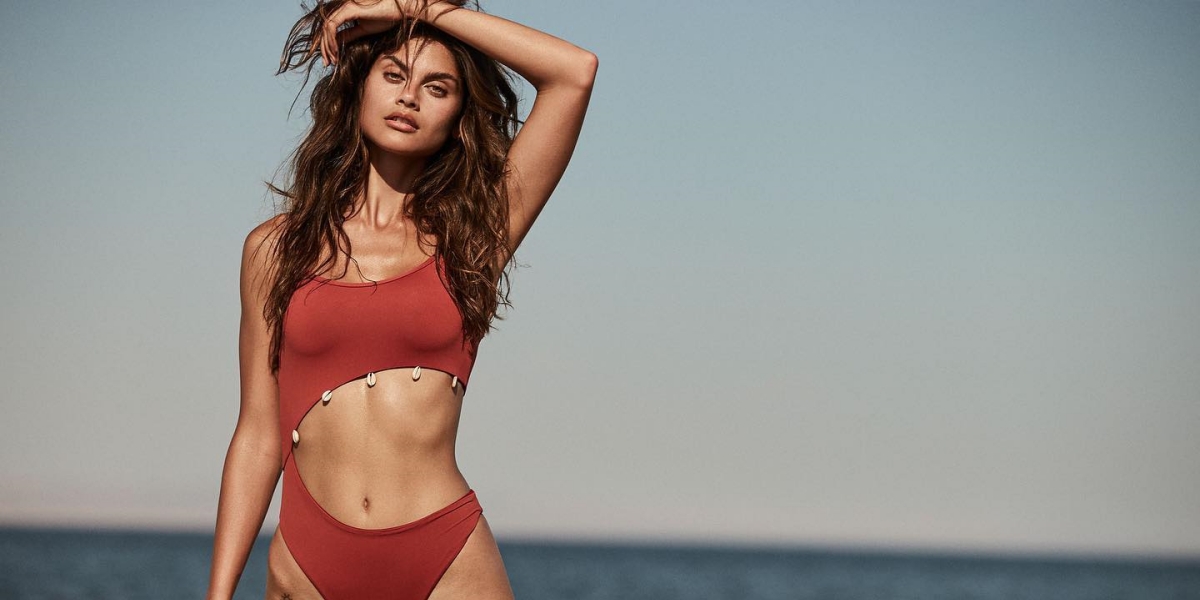
Dames Badmode voor dames | Banana Moon Tweedelig badpak paars Cielo & Naida Sunrib Paars
€ 85.10€ 55.80 Opties selecteren -
Aanbieding!
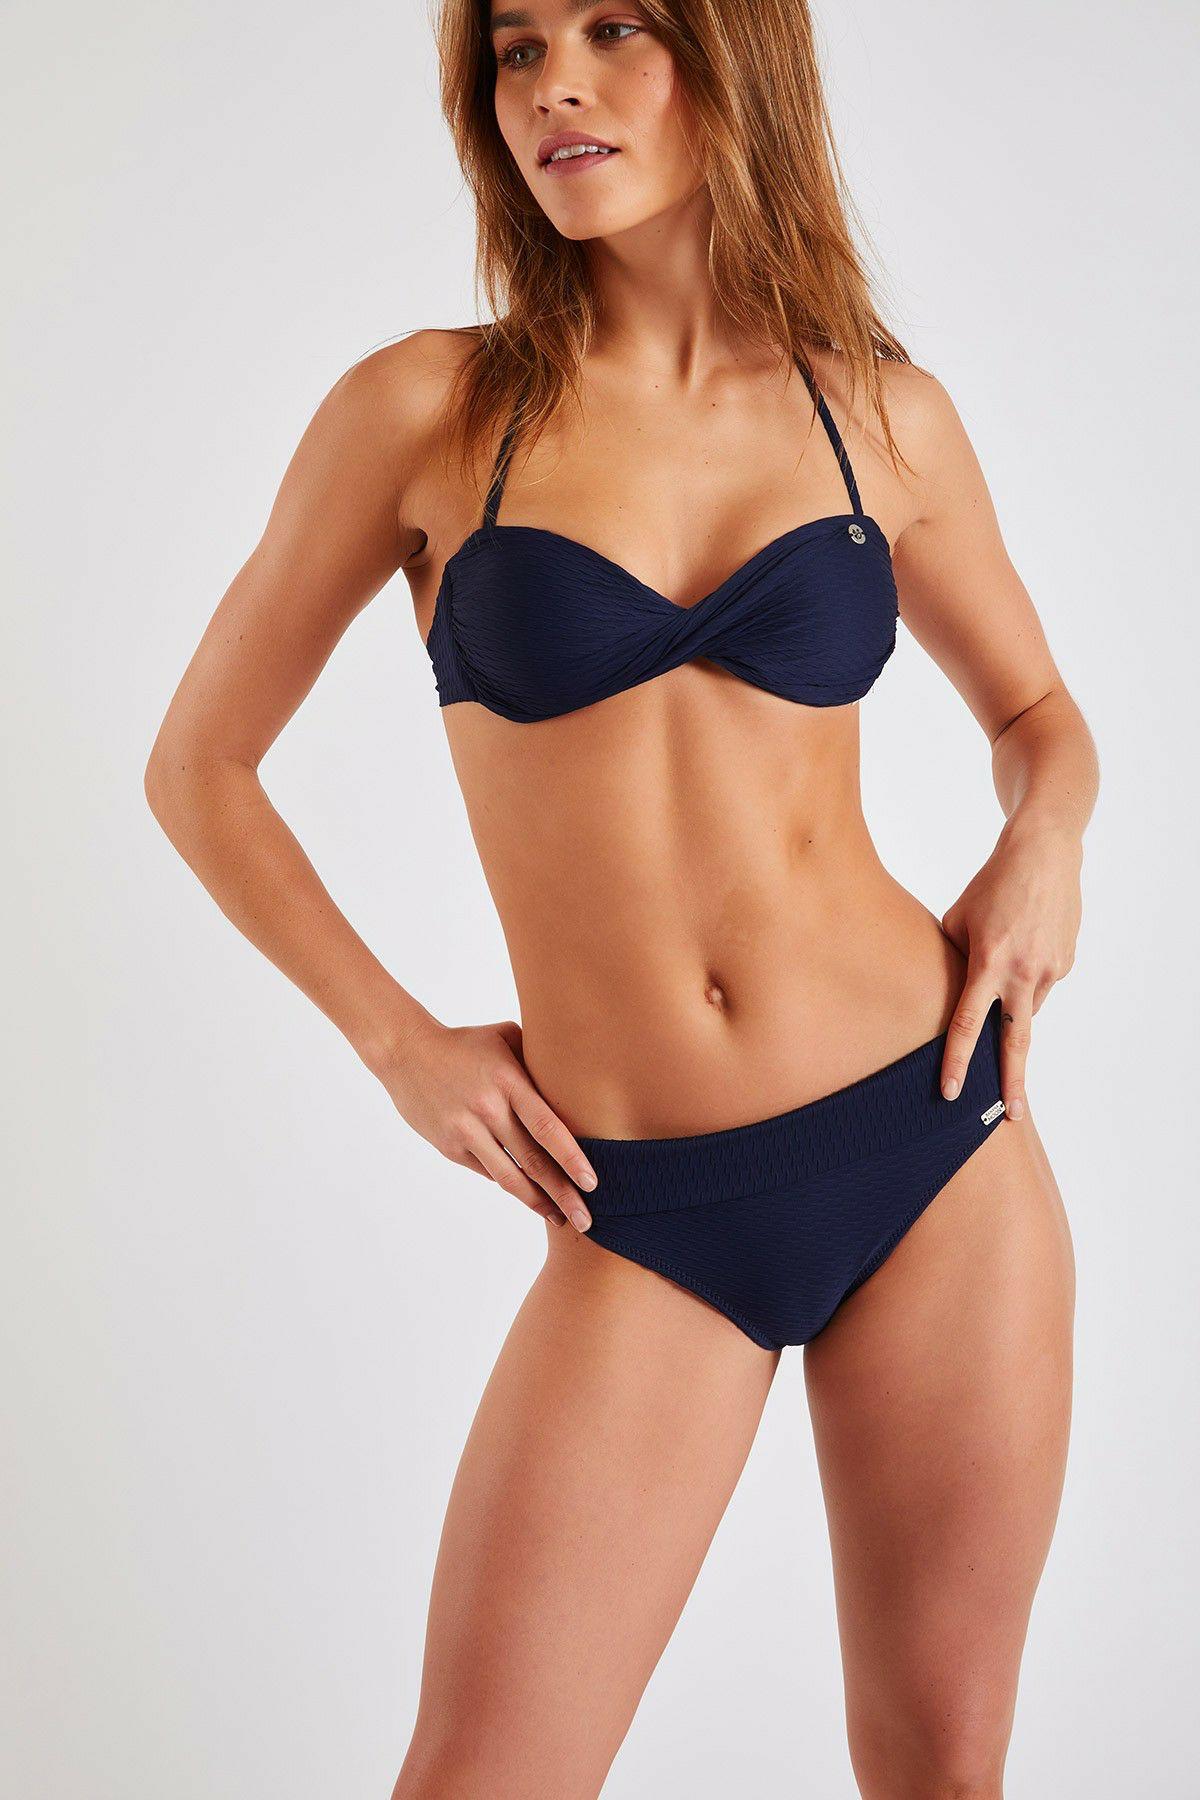
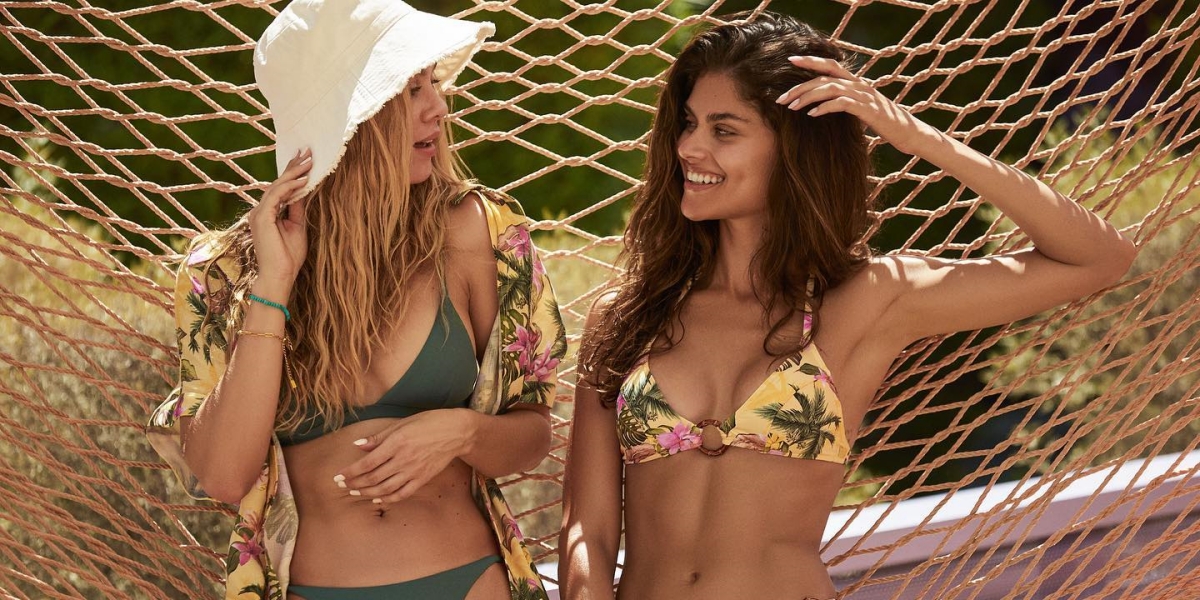
Dames Tops | Banana Moon Tweedelig badpak marineblauw BORO & MERENDA ROMEO Marine
€ 118.58€ 78.12 Opties selecteren -
Aanbieding!
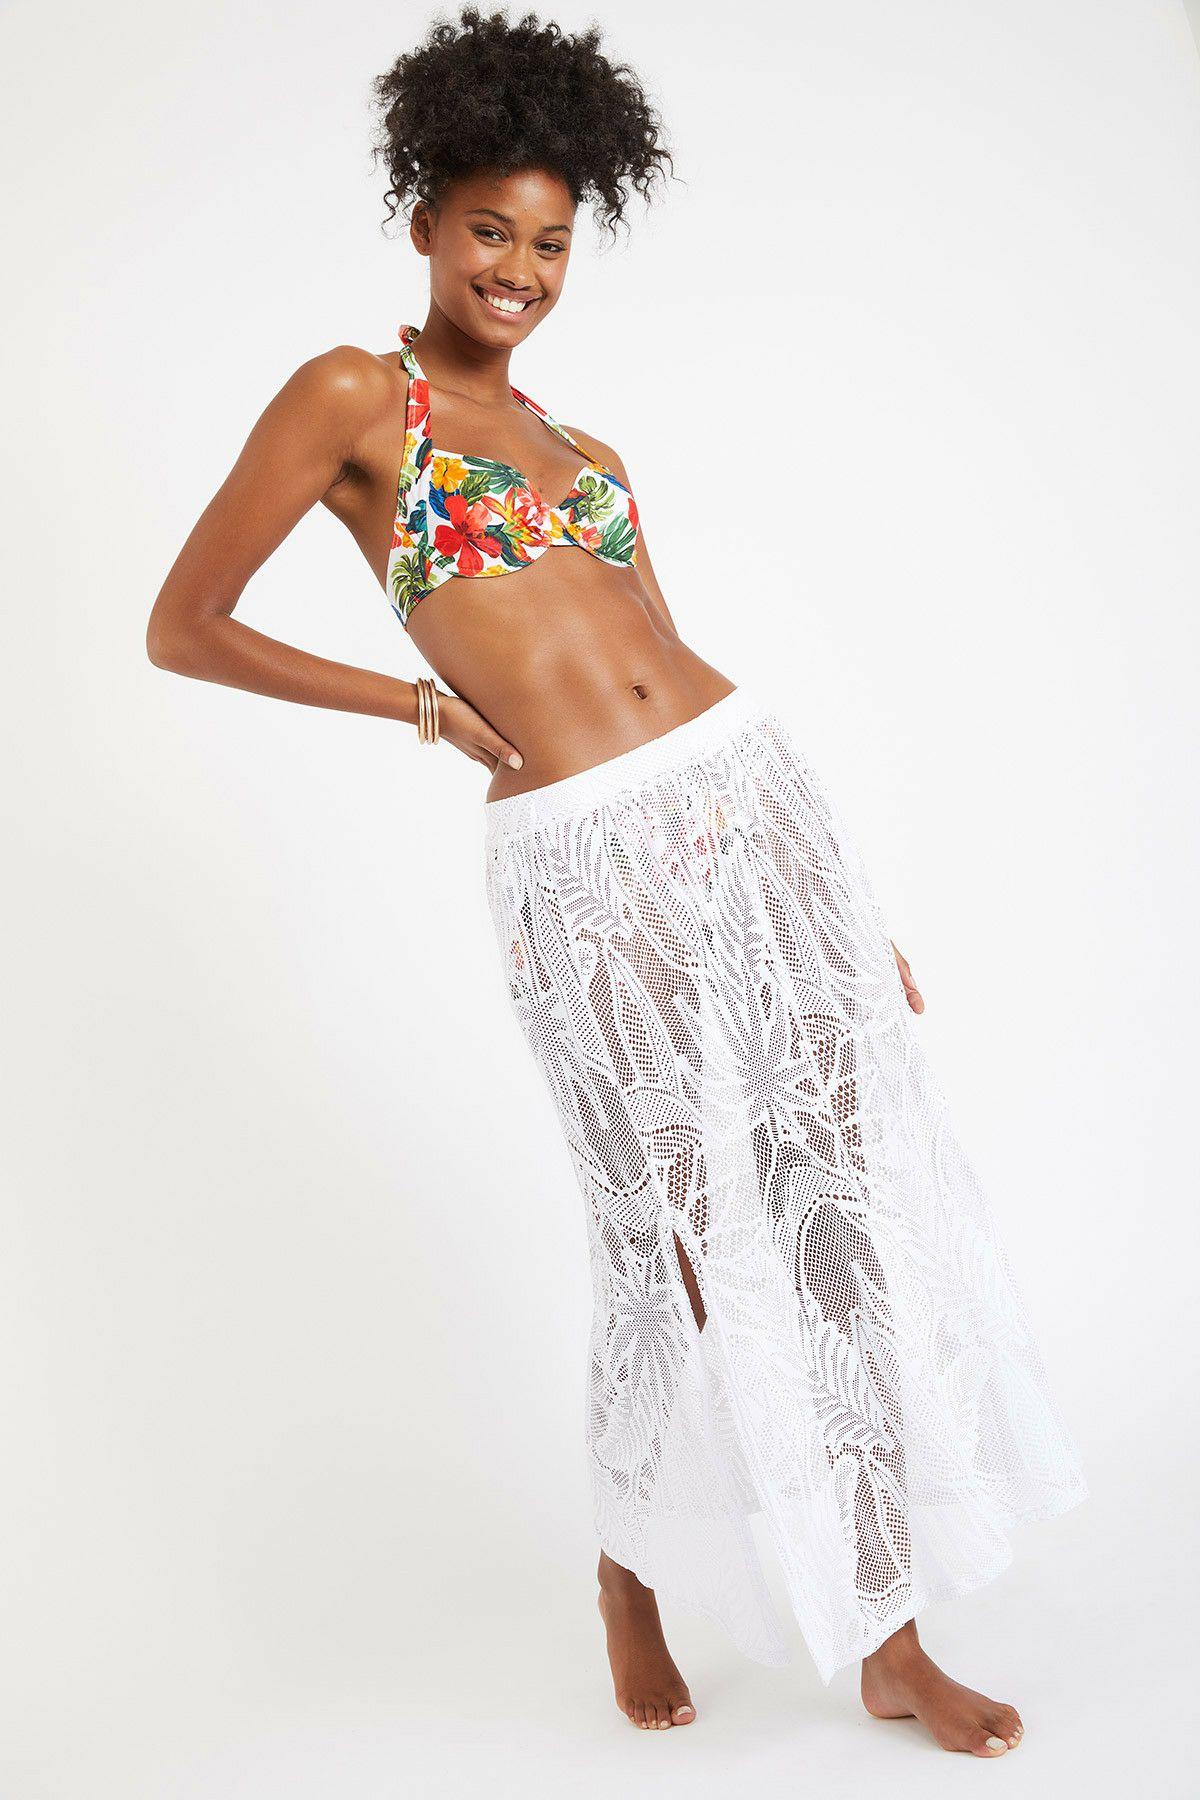
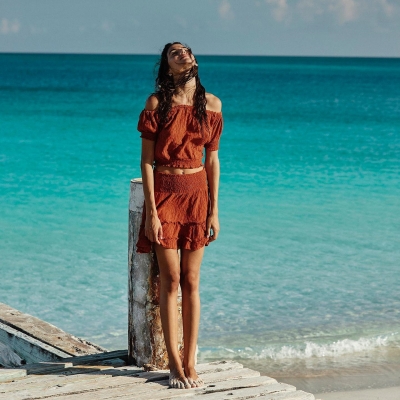
Dames Badmode voor dames | Banana Moon Rok Wit – JETTY COCOBEACH Wit
€ 111.60€ 68.82 Opties selecteren


Aanbevolen Producten
-
Aanbieding!
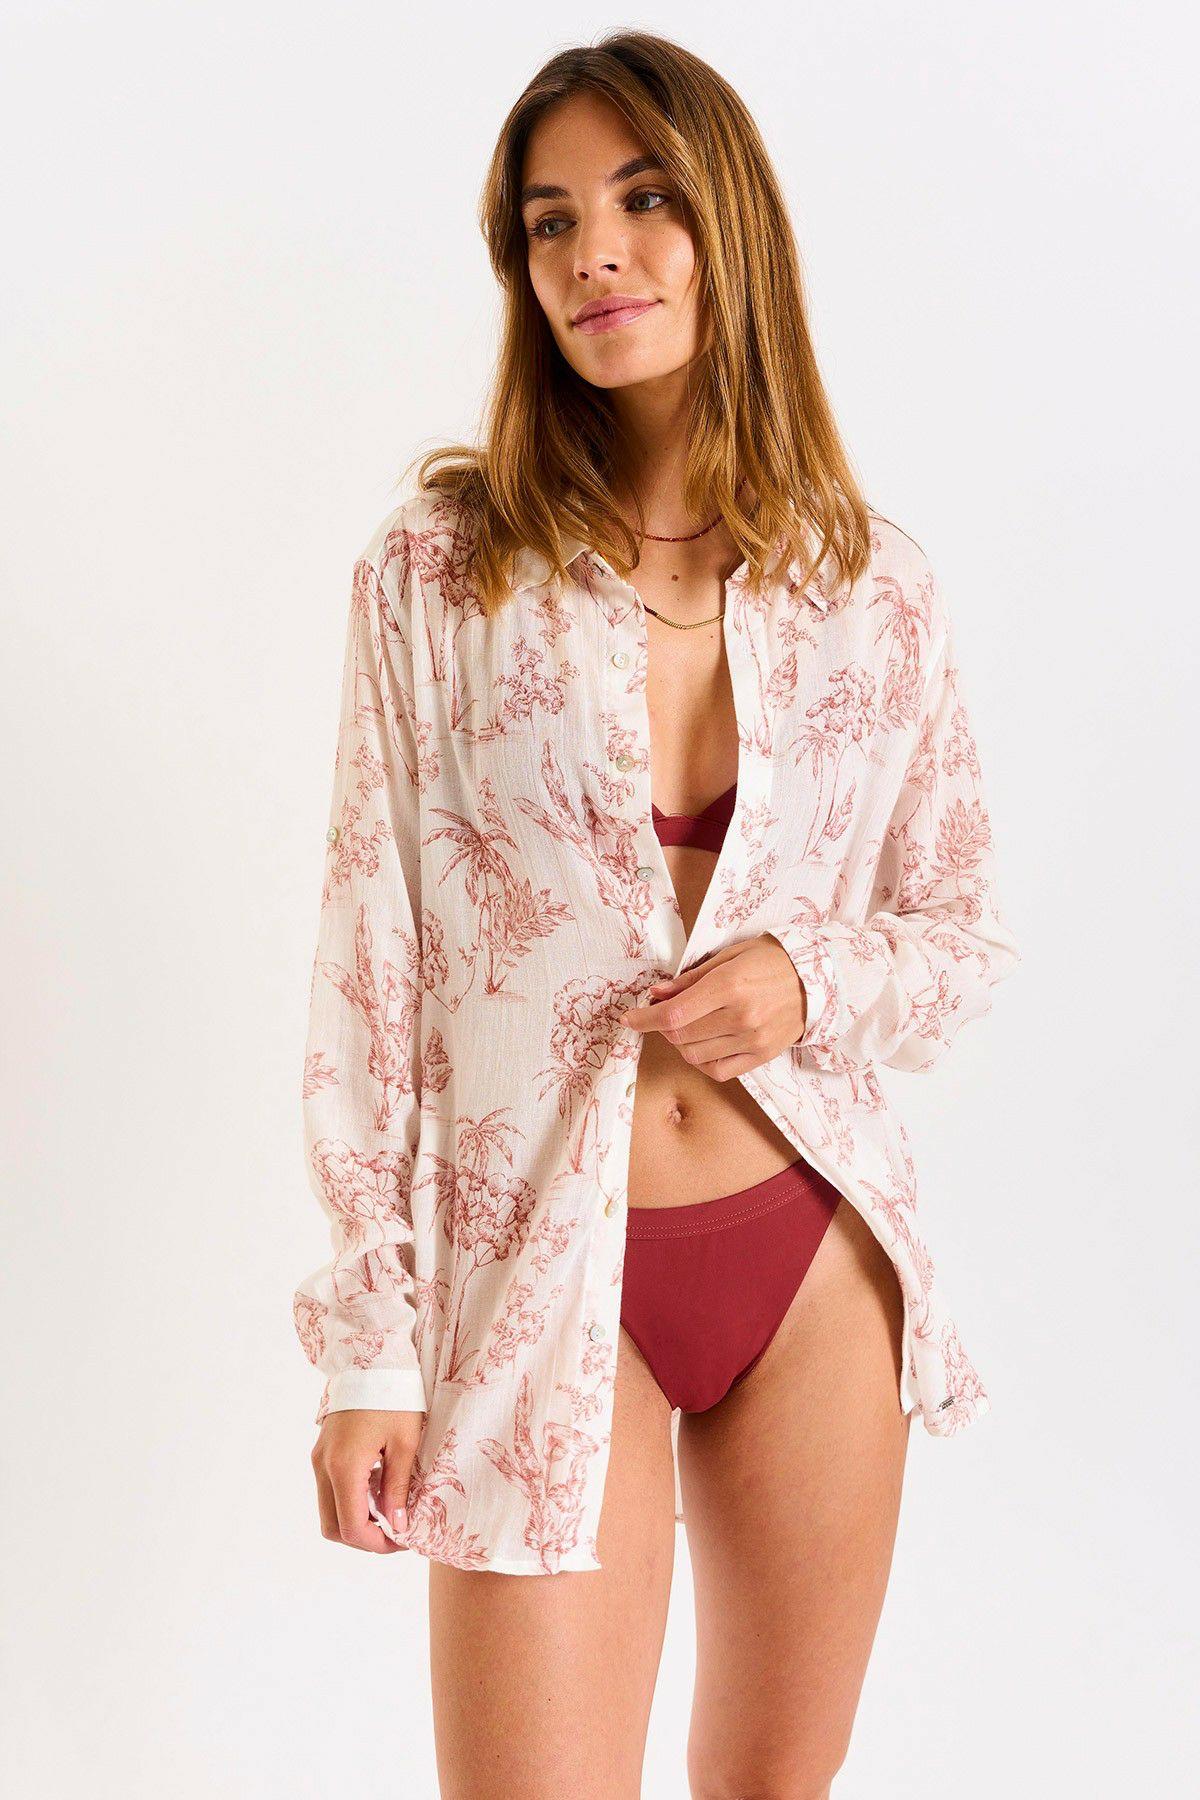
Dames Tuniekjes | Banana Moon OVERHEMD Oranje – GARY BRANSON Oranje
€ 109.37€ 51.15 Opties selecteren -
Aanbieding!
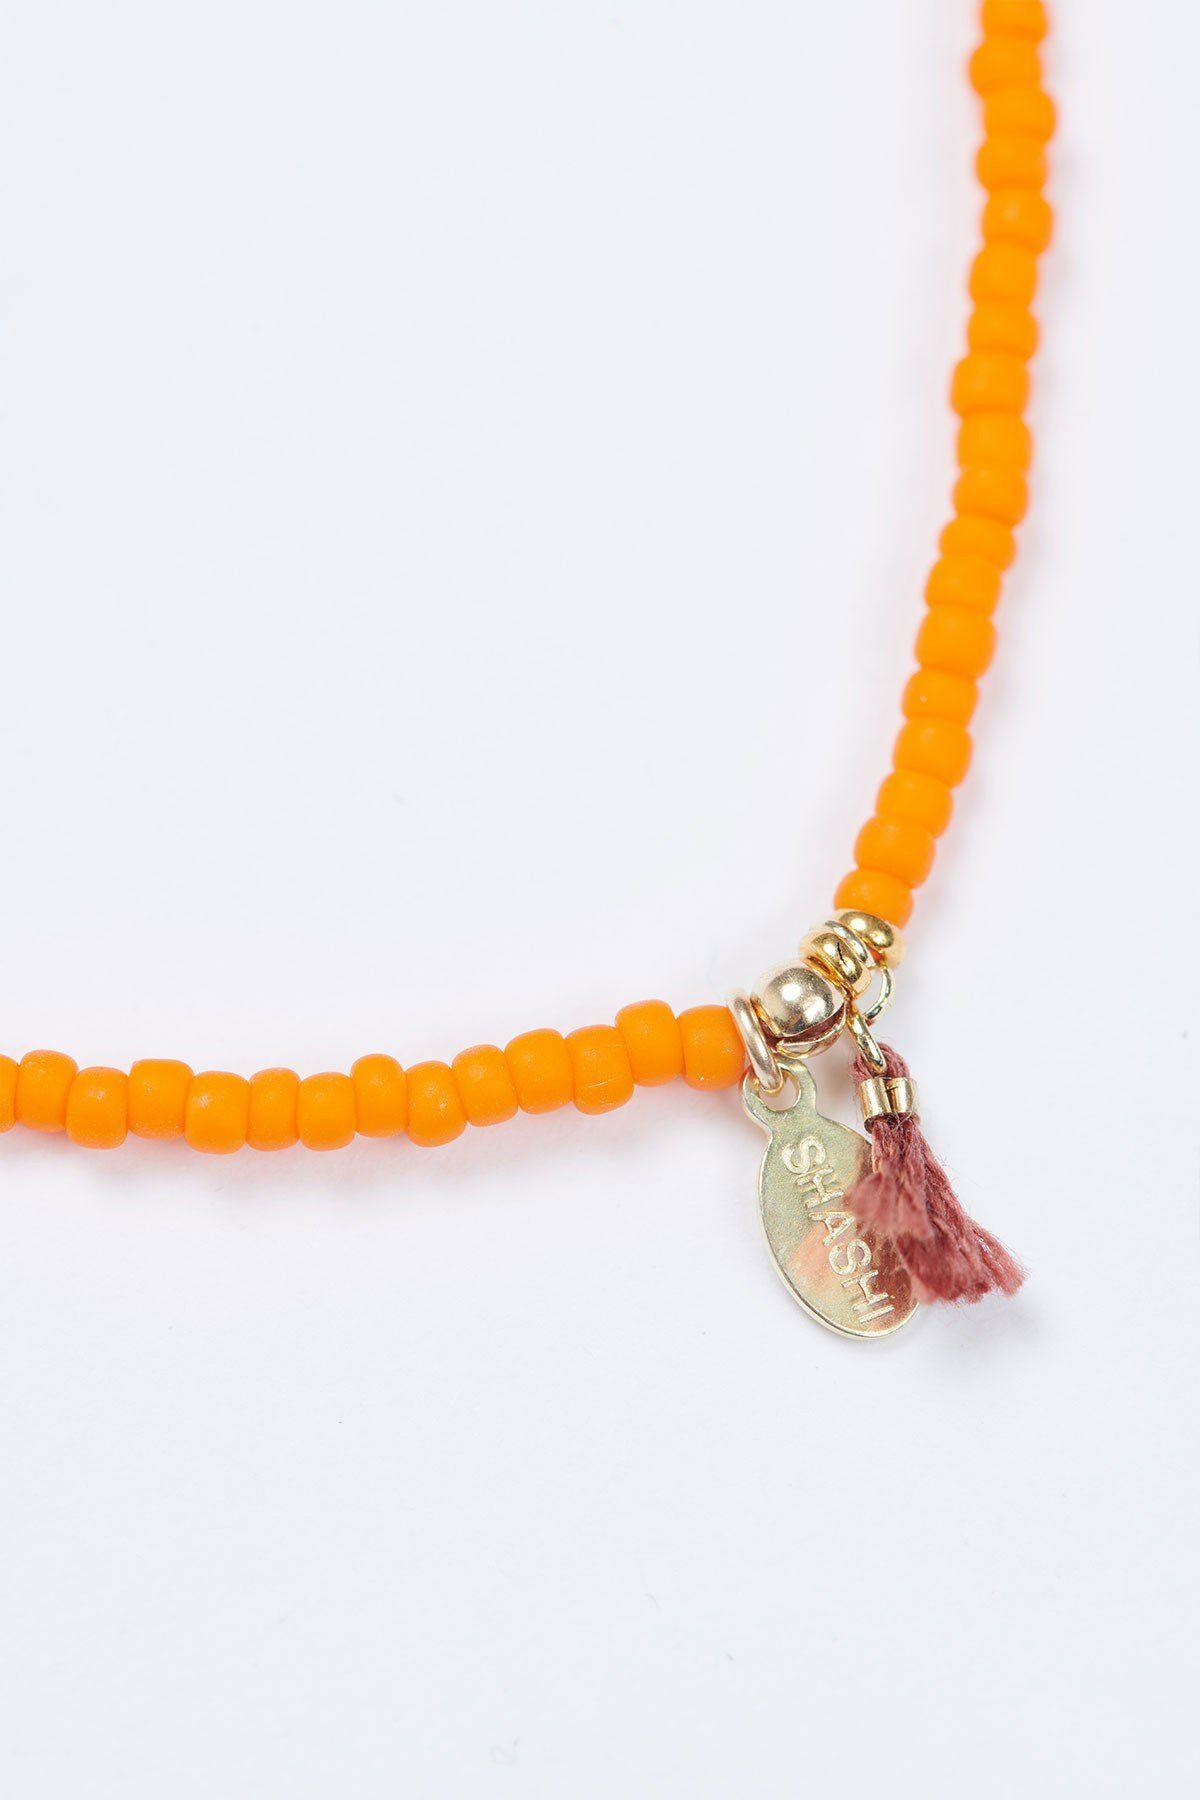
Dames Badmode voor dames | Banana Moon Armbanden Oranje – BRACELET SHASHI Oranje
€ 62.78€ 24.18 Opties selecteren -
Aanbieding!
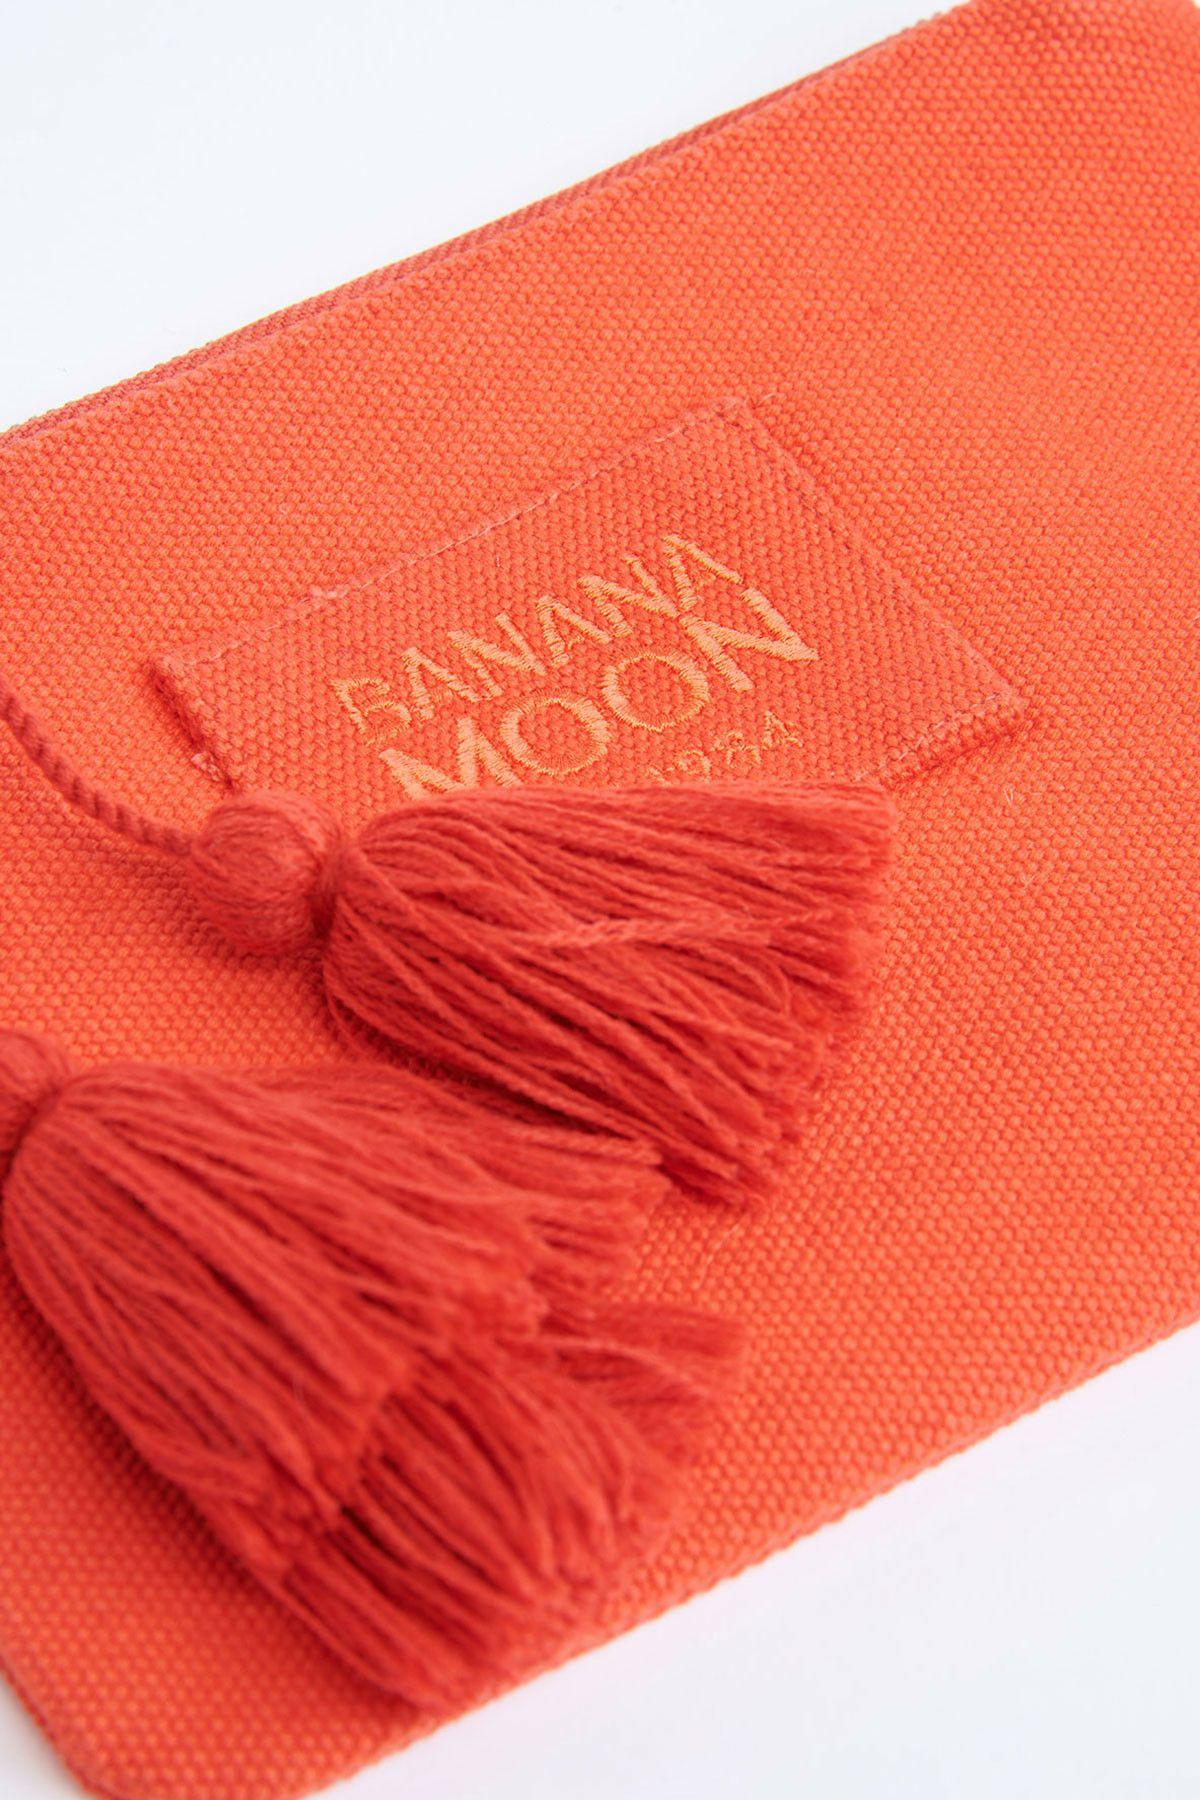
Dames Totes & strandtassen | Banana Moon HOES Oranje – EVAN CARLINA Oranje
€ 52.73€ 24.18 In winkelmand -
Aanbieding!
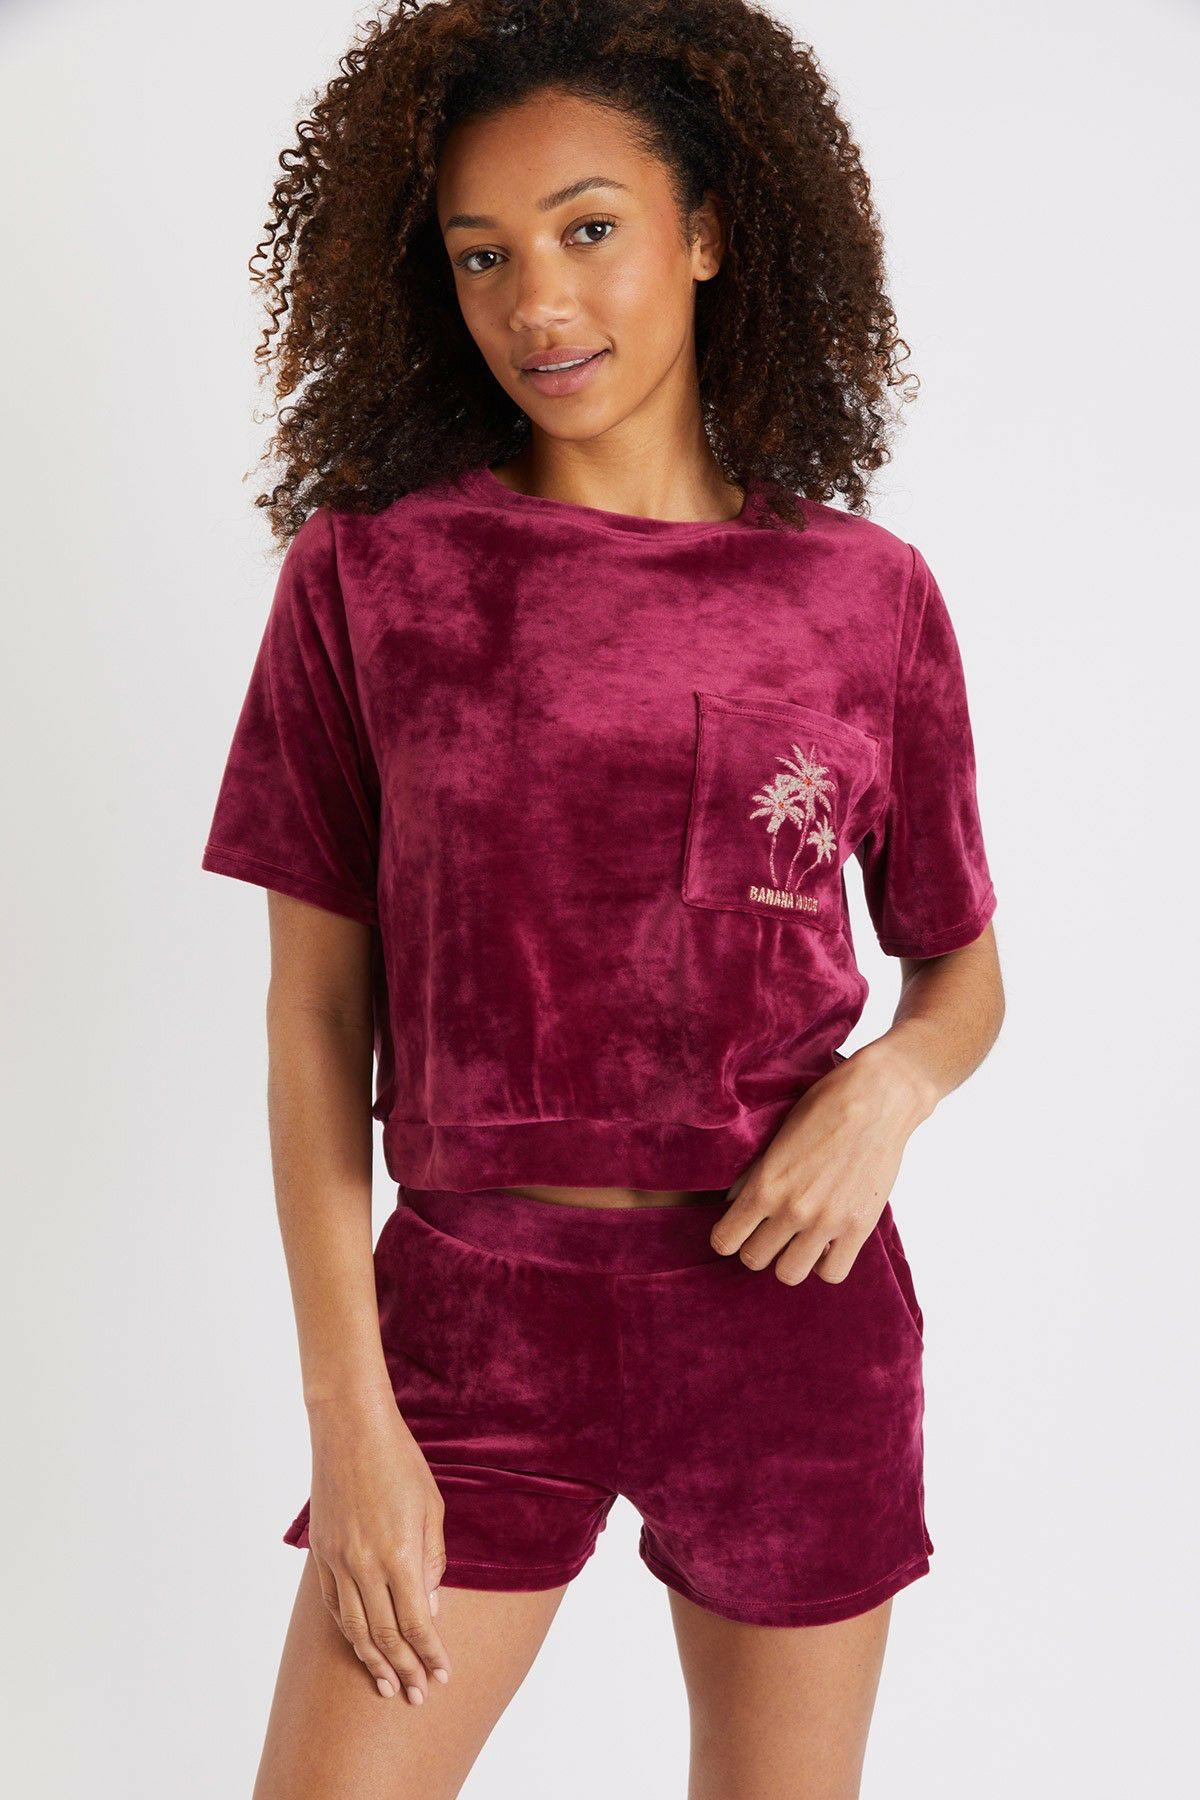
Dames Loungewear | Banana Moon SHORT Paars – SCOTTY SEALAKE Paars
€ 70.68€ 34.41 Opties selecteren